These articles were originally published on PBK.com in 2017.
What are Creation Spaces?
Creation spaces are spaces that facilitate creativity among their users. As technology creates opportunities for building and making new things that were previously the domain of industrial concerns, these spaces give students the ability to create tangible objects as part of their learning journeys. The traditional version of this kind of space is the art studio, which maintains its relevance and is enhanced through the addition of new technologies. However, new kinds of spaces are emerging to support specific kinds of creation. On the software side, One-Button Studios allow students to create videos and other multimedia content easily. On the hardware side, a wide range of MakerSpace environments allow students to create everything from robots to sculpture to furniture in a single environment.
How big an Investment are Creation Spaces?
Investments in creativity spaces can range broadly from a few hundred dollars to millions of dollars for a fully outfitted MakerSpace. Space considerations range from a few dozen square feet for an in-class Creation Station to 15,000-20,000 square feet for a Fabrication Lab that has a large functional range extending to woodshop and metalshop services. Staffing costs also range from practically nothing in a One-Button Studio to a specialized instructor required to maintain safety in a woodshop-type environment. Middle-of-the road environments like the Design Lab allow institutions to right-size facilities to maximize resources to their students while minimizing costs and overhead.
What are the benefits to instruction?
The economic logic driving down costs in technology and staffing are also driving change in the private sector and making skills acquired in this kind of environment very desirable on the job market. Companies are recognizing the benefits of having in-house design and fabrication over the delays and costs traditionally associated with prototyping. In addition, we are seeing a wide range of entrepreneurial activities rising in response to the low startup costs associated with many of these technologies. Learning by doing and the development of a portfolio is a very desirable educational outcome facilitated by these kinds of spaces.
Contents
Creation Station
What is it?
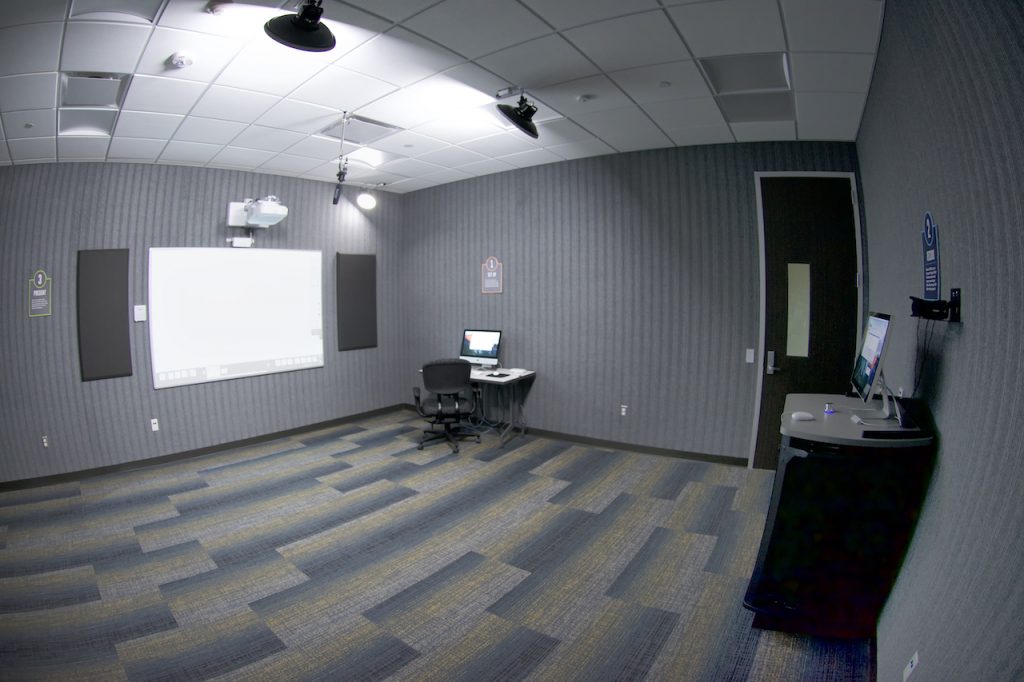
A Creation Station is a micro-MakerSpace designed to fit within the confines of a classroom space. The idea is to allow for spontaneous creativity and support of programmatic activities within the classroom. The equipment is tailored to be accessible and unobtrusive when not in use, but to give teachers and students easy access to Maker tools.
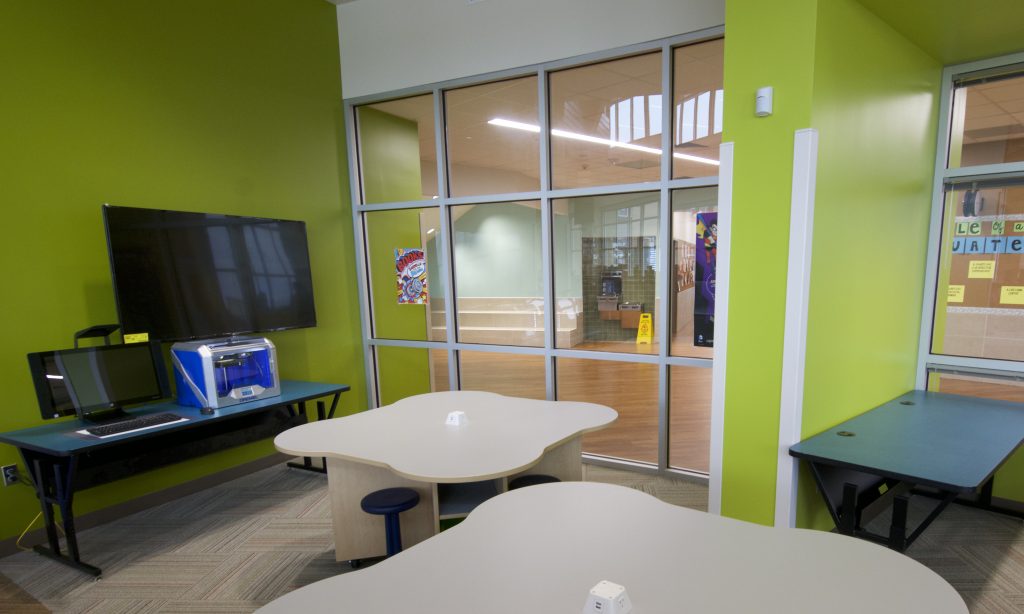
Design Lab
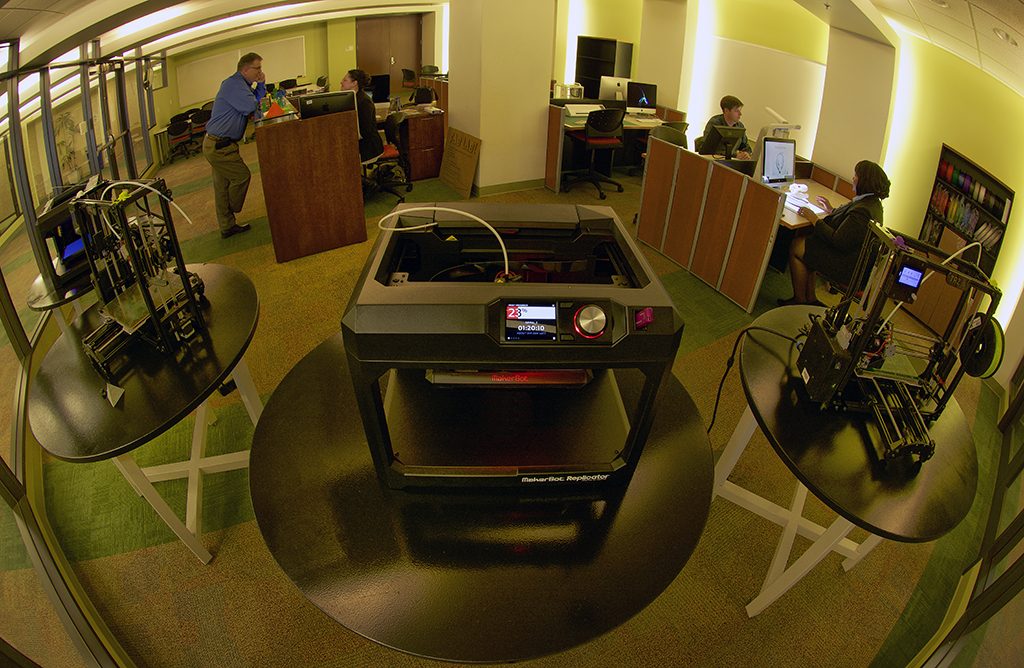
What is it?
A Design Lab is a lightweight MakerSpace designed to fit into a classroom-sized space. Through a careful selection of tools it can perform many of the functions of a full-sized Fabrication Lab without the specialized infrastructure and safety concerns of a more robust setup. Another critical feature is that the space should be as accessible (and visible) to the campus as possible. Students will be curious about the activities taking place there and will want to participate, but only if they know that it exists.
How big an Investment is a Design Lab?
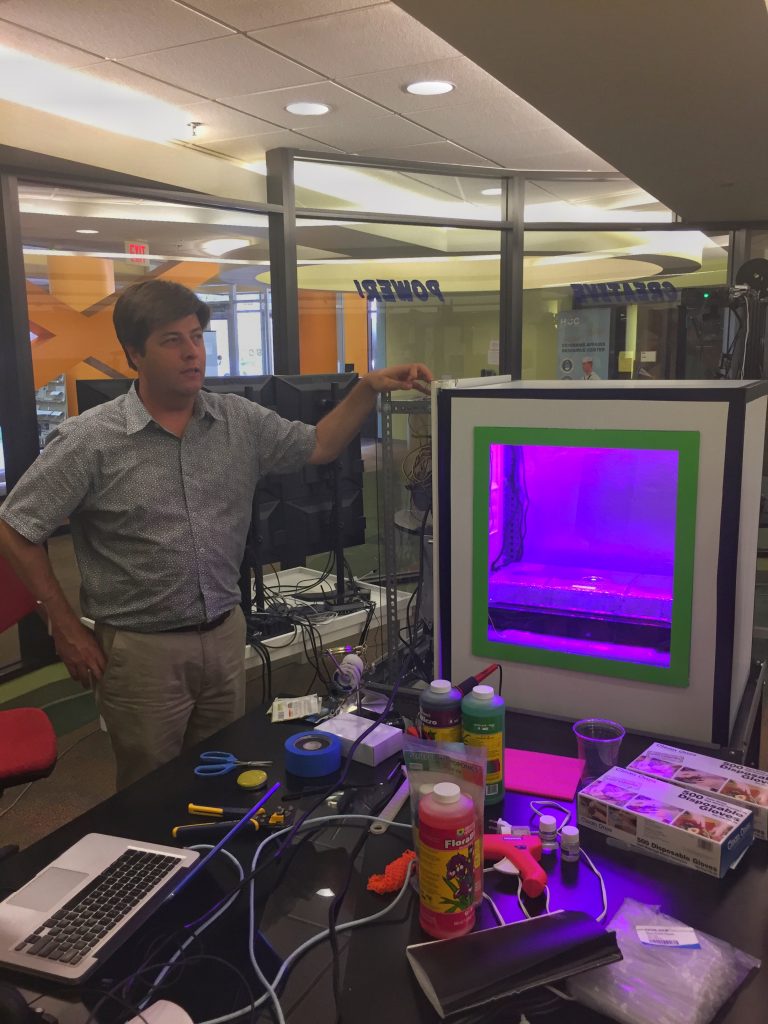
The idea behind the D-Lab is to assemble a usable set of light tools into a resource space. Typically, 700-1000 square feet is sufficient to achieve this task. It is important to leave a portion of the space available for people to spread out their projects. Heavy-duty (hard surface or butcher block) tables are recommended for this area. A selection of 3D printers is usually expected. Other equipment can include vinyl cutters, PCs, soldering irons, miscellaneous electronic components, and a standard set of hardware tools. If minimal ventilation is possible then a laser cutter is a good tool to have in this space as well. All told the equipment in this space should total no more than $20,000-30,000. Adequate power is critical. If this is a conversion project, a computer lab is a good choice for a basic space as those spaces typically have sufficient power for the various devices in the space. If not, then electrical upgrades through the addition of outlets might be required.
Ongoing expenses are fairly manageable. While it is important to have a full-time staff member overseeing the space, part-time student workers and even volunteers can be used to staff out the space. Minimal skills are necessary to run equipment in this kind of space, and many of them will likely have to be learned on the job in any case.
As far as supplies are concerned, a small supply budget is appropriate for programmatic activities and demonstration projects. However, the expectation for students is that they bring their own supplies into the space. At the college level, college bookstores will often stock 3D filament. Filament is also widely available online from vendors like Amazon. Other supplies will commonly be found in home improvement stores like Home Depot and Lowes.
What are the benefits to instruction?
The Department of Education says, “Through making, educators enable students to immerse themselves in problem-solving and the continuous refinement of their projects while learning essential 21st-century career skills, such as critical thinking, planning, and communication.” The benefits to having a space such as the D-Lab in every school, particularly at the Middle and High School levels are significant. What is even more exciting is that every one of these kinds of spaces that we have created have generated unexpected ideas and benefits to both the users and the schools in which they are located. Students have developed innovative solutions to everything from school signage to food production. They are essential breeding grounds of ideas in the 21st Century.
RESOURCES:
- MakerED: http://makered.org/resources/spaces-places/
- We Are Makers: http://wearemakers.org
- MakerSpace Activities Suggestions: https://www.makerspaces.com/makerspace-ideas/
- Project-based Learning: http://www.bie.org/blog/traditional_school_imperils_kids_they_need_to_be_innovators?utm_content=buffer4ae36&utm_medium=social&utm_source=twitter.com&utm_campaign=buffer
- Schools are Missing What Matters About Learning: https://www.theatlantic.com/education/archive/2017/07/the-underrated-gift-of-curiosity/534573/
SAMPLE EQUIPMENT LIST:
- 3D Printers (6-8 of various types)
- Laser Cutter (optional) – Glowforge could be a game changer in this area because it doesn’t require additional ventilation like more traditional laser cutters
- PCs (6-8)
- USCutter 34” Vinyl Cutter (1)
- Arduino Kits (1)
- Little Bits Kits (2-4 various kits)
- Raspberry Pi’s (10-12) – students often purchase their own
- Toolbox and basic tool set (1)
- Butcher block or other hard surface work tables (3-5)
- Misc. Supplies (filament, vinyl, etc.)
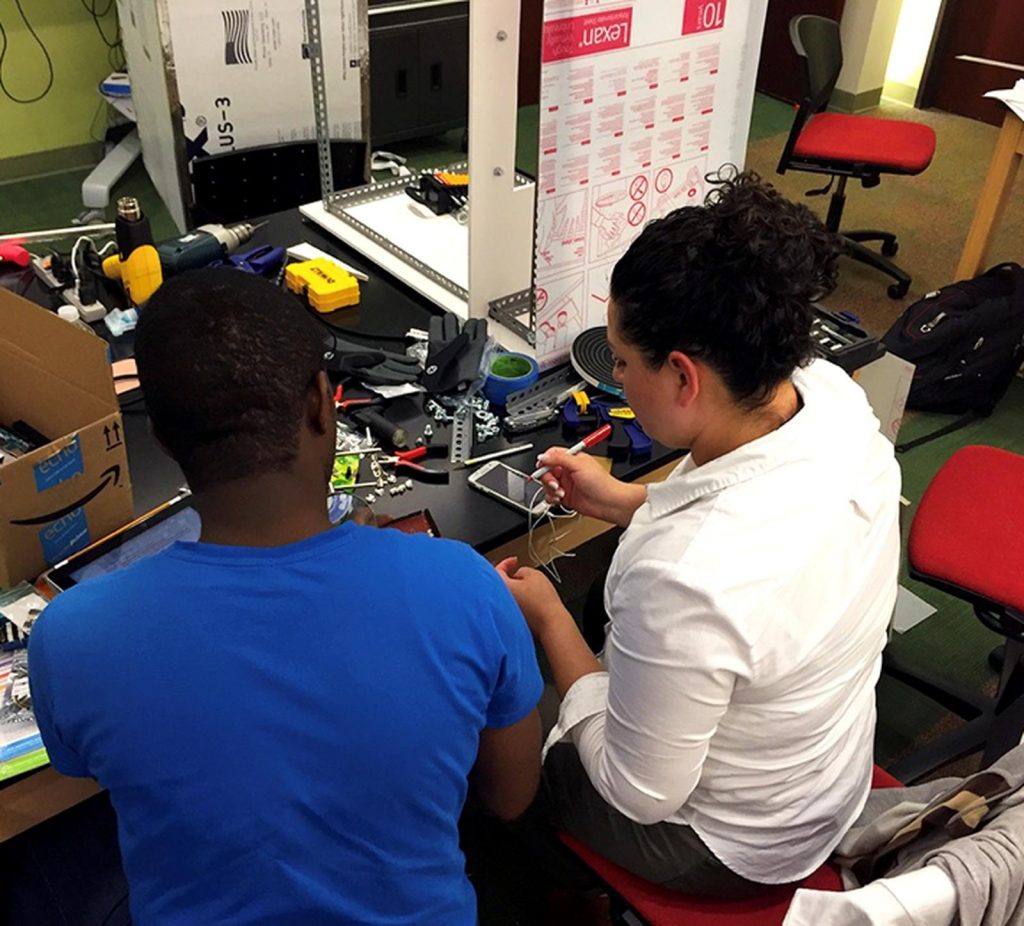
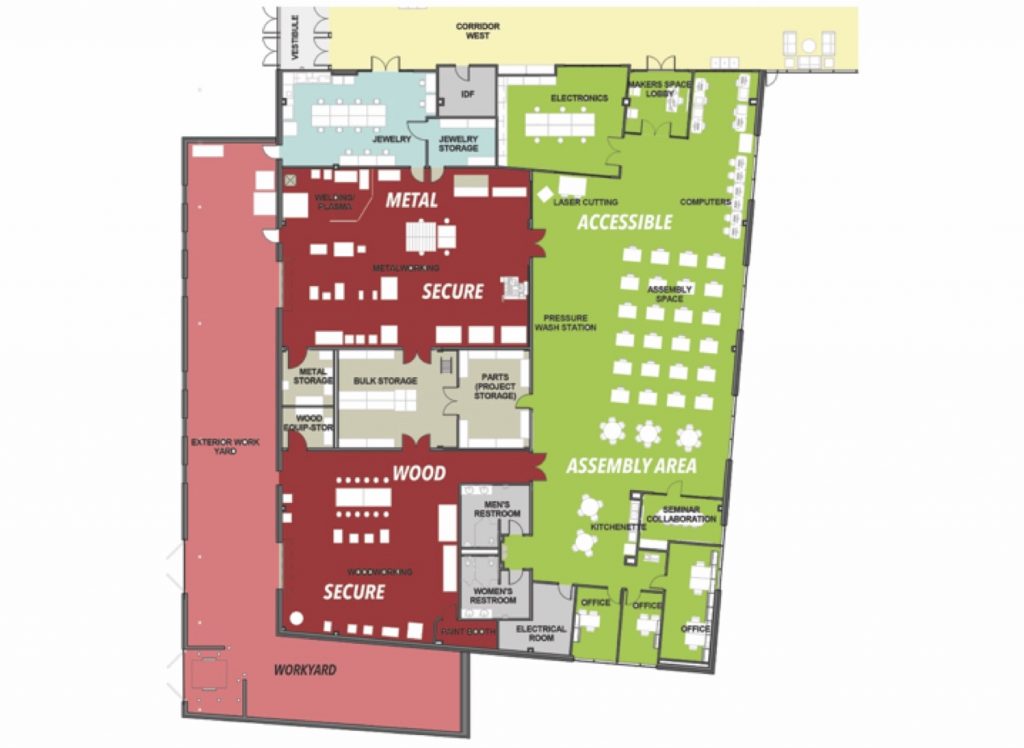
Fabrication Lab
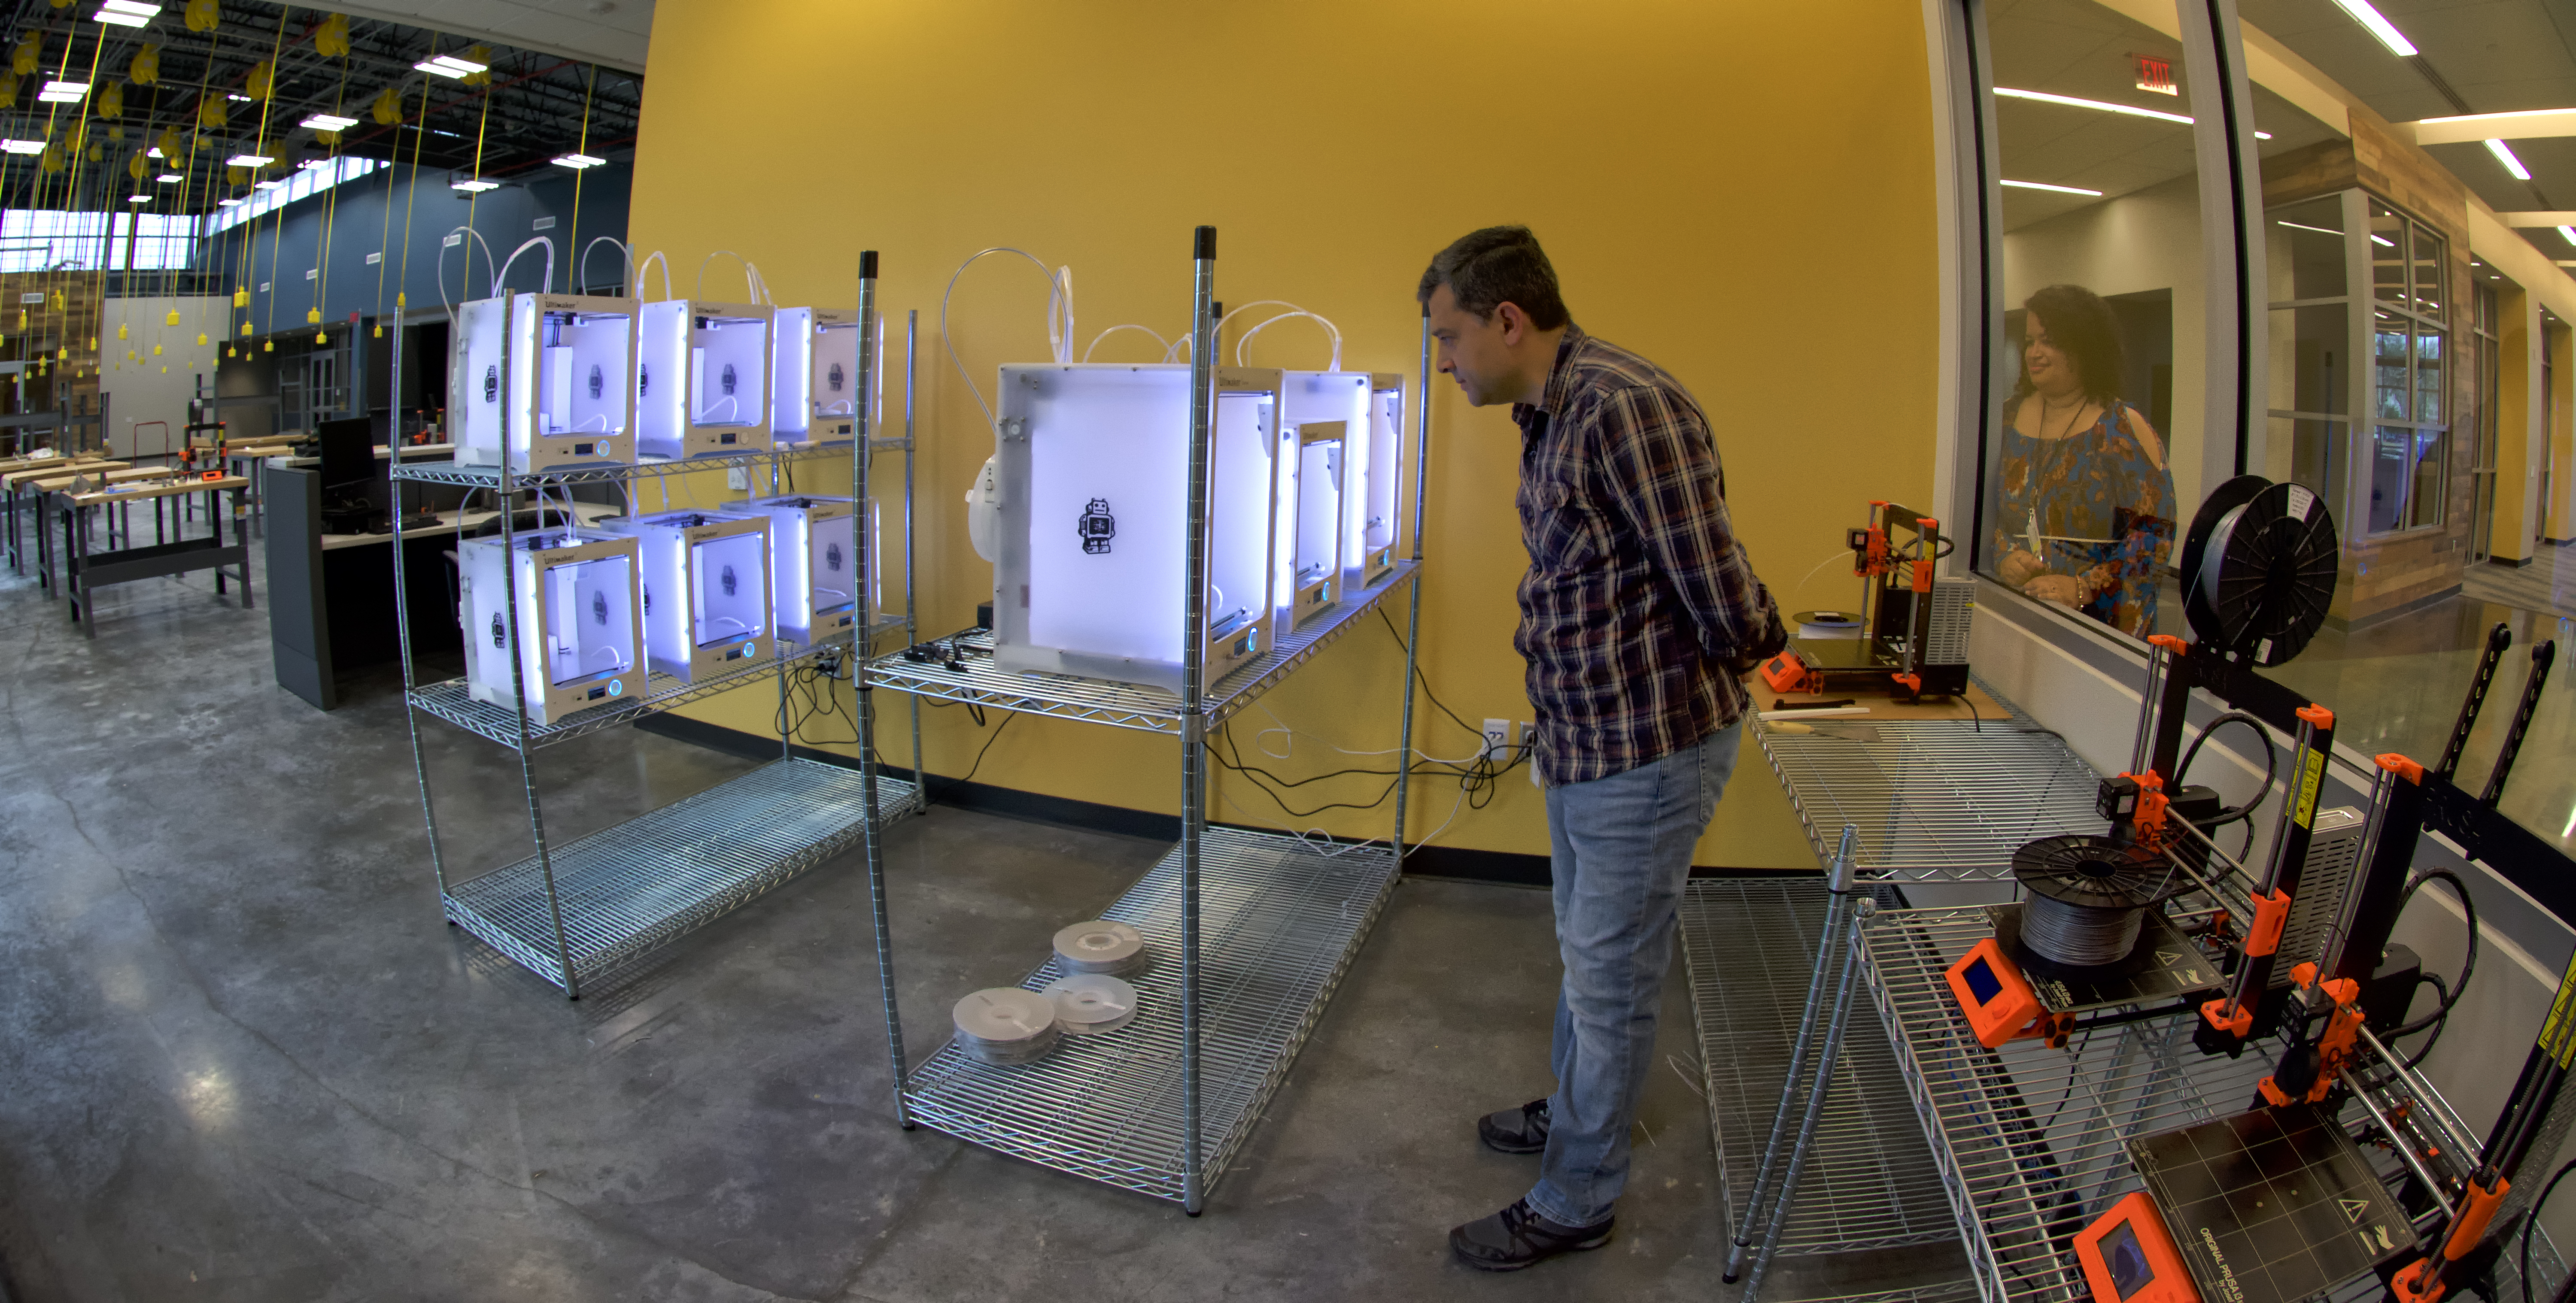
What is it?
The Fabrication Lab is more typical of what most people think of when they hear the term “MakerSpace.” In addition to the tools typically found the Design Lab these kinds of spaces will also typically include advanced fabrication areas such as Metal Shops, Wood Shops, and Machine Shops that require safety protocols and specialized staffing.
Wherever possible, accessibility of the tools needs to be considered when drawing up an equipment list. Finally, as tool costs are dropping rapidly and the technology is shifting so fast, equipment should be one of the final items purchased in any building process. This is because the costs of many of these technologies can drop significantly from the time of specification to the time of purchase. For instance, similar 3D printers dropped in price from $3500 to $500 over the course of the development of the West Houston Institute MakerSpace. These kinds of price adjustments, coupled with the emergence of new technologies that could do the same kinds of jobs at a fraction of the cost of the original solution, resulted in an overall savings of between 40 and 50% in the equipment budget of the project totaling almost half a million dollars.
Staffing is also more complex in these kinds of spaces. In the “safe” zones, staffing the area with part-time students is still an option but the more complex areas such as the wood shop, metal shop, and machine shop will require specialized staffing, usually faculty, trained in the safe operation of the equipment there. The more staffing, the more accessible the space will be, and therefore evening or night staffing might prove necessary. Certified volunteers might be an option in some areas, especially if you intend to allow community access to the space during non-instructional hours.
If your model allows it, off-hour use can become a profit center for the space. Arizona State University has developed a partnership with TechShop in Phoenix to operate such a space shared by students and entrepreneurs from the community. It is possible to replicate this model without a private partner and different economic models may be appropriate for different circumstances.
What are the benefits to instruction?
We have already discussed the benefits of Making extensively in the sections on Creation Spaces, Design Labs, and in the blog Hacking School. Creating a broader set of tools will benefit a wider range of programs and curricula than the less complex spaces. At the High School level, CTE programs can and should be rethought with Making in mind as Making creates a more flexible path toward the same learning outcomes. It also future-proofs the spaces far more effectively than more technologically (and architecturally) rigid spaces do. At the college level, more advanced programs in the STEAM fields will be given access to a wider range of potential projects for their students. Additionally, bringing in entrepreneurs, engineers, artisans, and craftspeople from the community brings in a whole range of “teachers” capable of providing valuable lessons and even partnerships for students working in the space.
RESOURCES:
- MIT FabLab: http://fab.cba.mit.edu/about/faq/
- MakerED: http://makered.org/resources/spaces-places/
- We Are Makers: http://wearemakers.org
- MakerSpace Activities Suggestions: https://www.makerspaces.com/makerspace-ideas/
- Project-based Learning: http://www.bie.org/blog/traditional_school_imperils_kids_they_need_to_be_innovators?utm_content=buffer4ae36&utm_medium=social&utm_source=twitter.com&utm_campaign=buffer
- Schools are Missing What Matters About Learning: https://www.theatlantic.com/education/archive/2017/07/the-underrated-gift-of-curiosity/534573/
EQUIPMENT LIST: There are many configurations for Fabrication Labs and this will have a significant impact on the equipment list. The best way to approach the equipment list is to develop a floor and then customize based on programmatic needs. MIT has developed just such a floor through its Fab Lab Standard. This equipment list can be found at:https://docs.google.com/spreadsheets/d/1U-jcBWOJEjBT5A0N84IUubtcHKMEMtndQPLCkZCkVsU/pub?single=true&gid=0&output=html
The One-Button Studio